I have an ATtiny85 sketch I need to maintain.
I want to do this using PlatformIO rather than Arduino IDE.
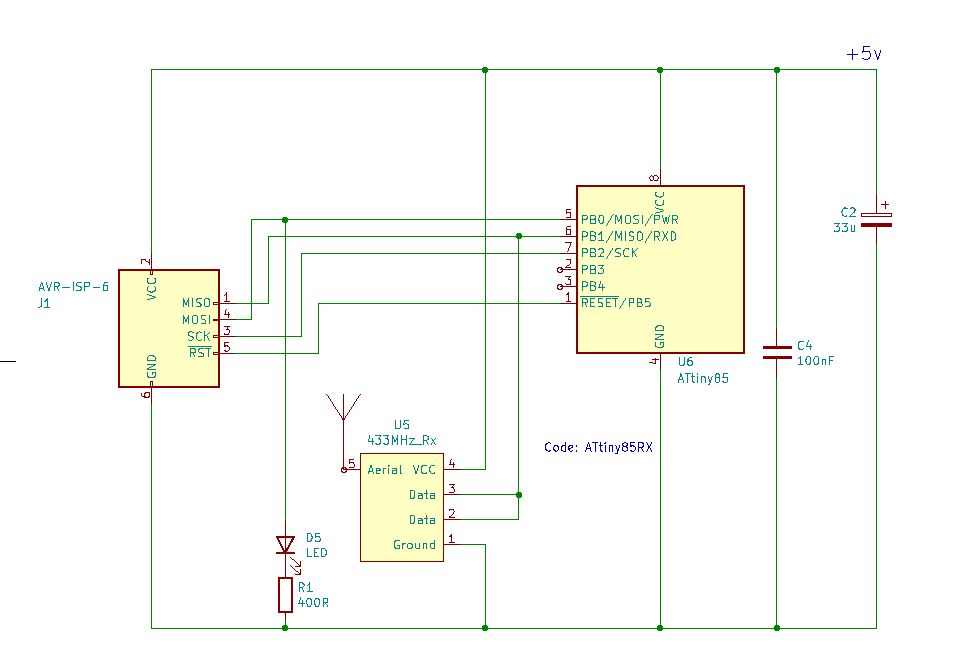
I have prepared a sample sketch and circuit - below
I can compile and upload sketch both on PlatformIO and Arduino IDE - as in - straight copy and paste.
If I use Arduino IDE, the received character is decoded and the LED blinks. If I compile and upload using PlatformIO, the character is never received.
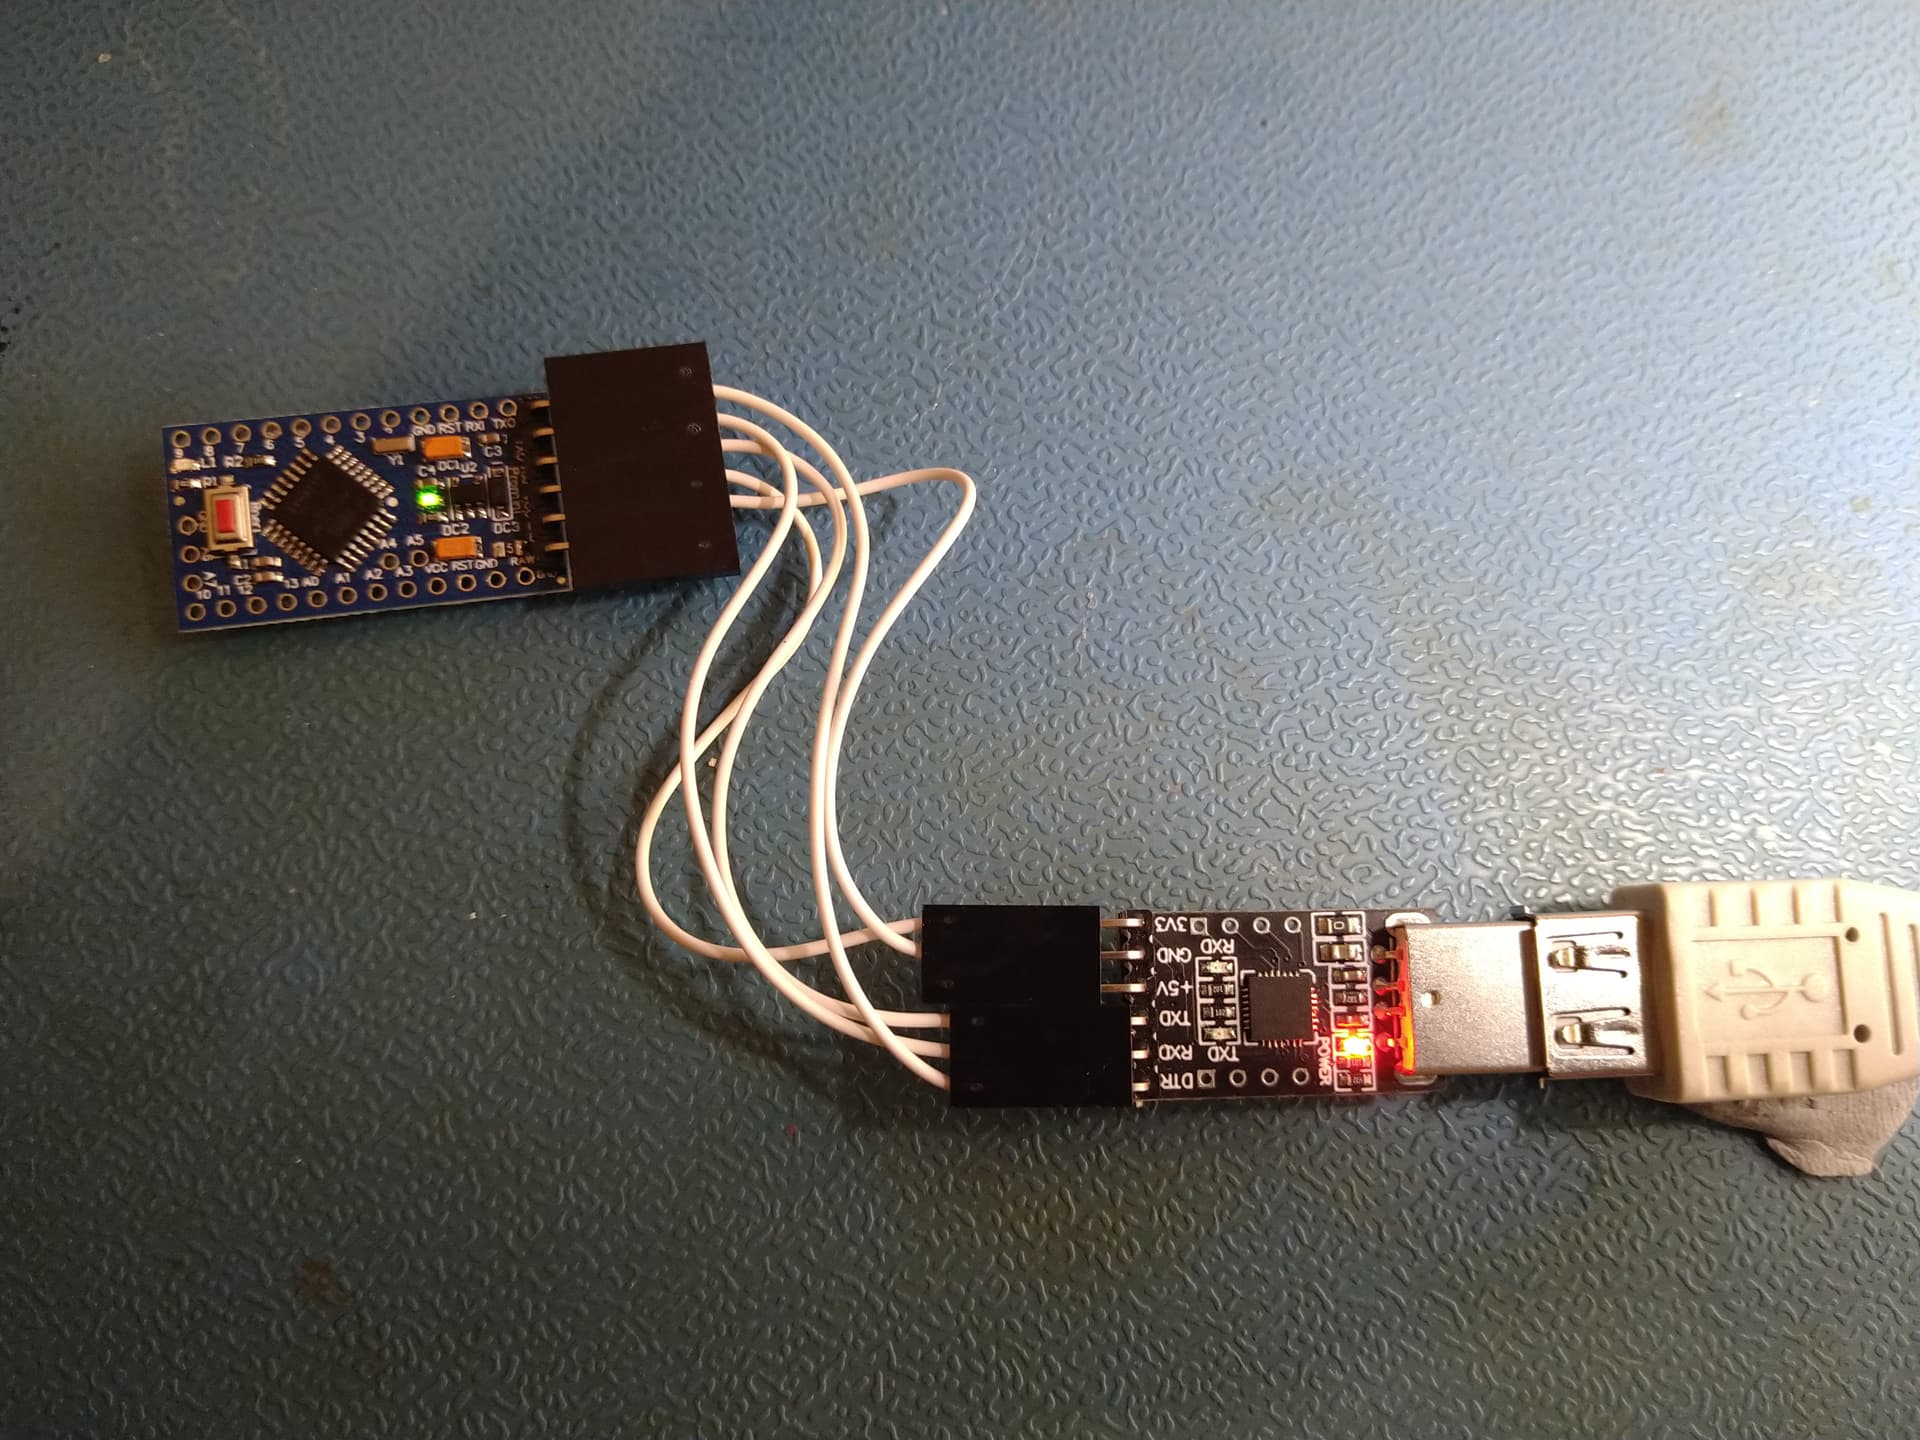
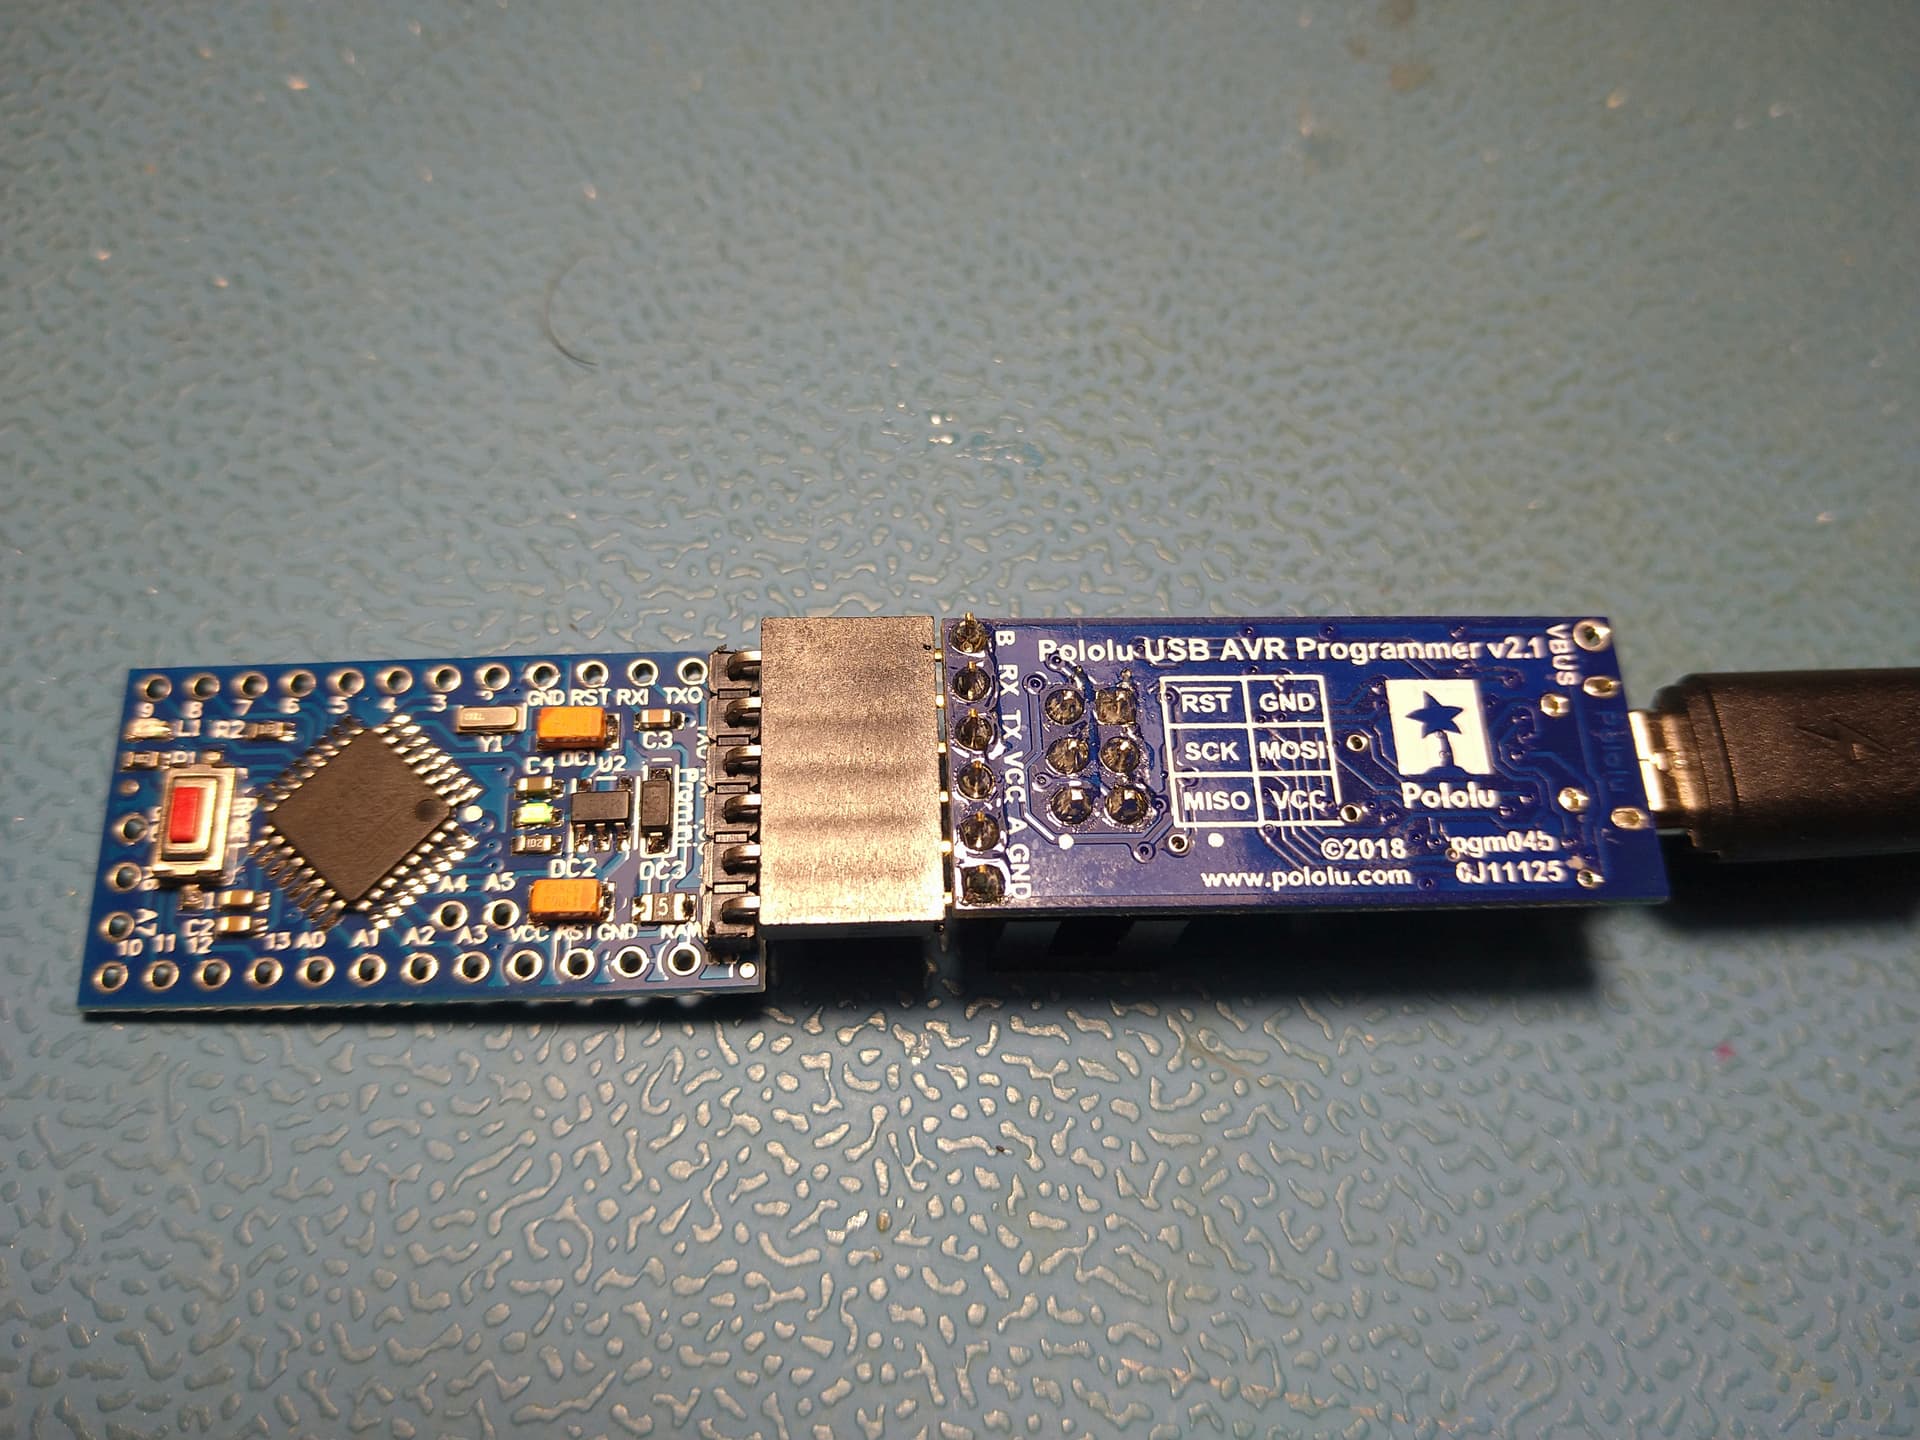
I am using the same physical Aurduino Uno as ISP so do not change anything physical between these two test scenarios.
The RH library I am using is the TinyHead version - a stripped down version so it fits in an ATtiny85 with room to spare for a program.
My sample code
/*
 * ATtiny85RX.cpp
 *
 * Created: 10/06/2022 10:26:02
 * Author : Peter

A simple example of a receiver. Taken from the original RadioHead library.
All credits and free beer to: https://www.airspayce.com/mikem/arduino/RadioHead/
this uses the TinyHead library which is a stripped down version of the original RadioHead 1.121 library
Downloaded from <http://sparwcreations.com/arduino/TinyHead/TinyHead.zip>
The library takes over Timer0 and needs the MCU to be at 8MHz

 * Target : Board: ATtiny25/45/85 Processor: ATtiny85 CLock: Internal 8MHz

 * Fuse setting: Brown-out detection at VCC =  1.8 V

 */


#ifndef F_CPU
#define F_CPU 8000000UL    // TinyHead needs it to be 8MHz
#endif

#include <avr/io.h>       // pulls in (most of) the register and register bit names
#include <avr/common.h>   // added so SREG is a recognized register name - seems to be mission from <avr/io.h>
#include <util/delay.h>   // needed for the delay functions
#include <Arduino.h>
#include <RH_ASK.h>

#define LED PB0 // PIR power output
#define RXD PB1 // data from RH_ASK receiver

#define RADIOHEAD_BAUD 2000     // Transmission Speed
#define RADIOHEAD_TX_PIN -1     // Pin of the 433MHz transmitter
#define RADIOHEAD_RX_PIN RXD    // Pin of the 433MHz receiver

RH_ASK driver(RADIOHEAD_BAUD, RADIOHEAD_RX_PIN, RADIOHEAD_TX_PIN);

// Pin definitions and use
/*                  ATtiny85
        PCINT5/-RESET/ACD0/dw PB5 1| u |8 VCC
 PCINT3/XTAL1/CLKI/-OC1B/ADC3 PB3 2|   |7 PB2 SCK/USCK/SCL/ADC1/T0/INT0/PCINT2
  PCINT4/XTAL2/CLKO/OC1B/ADC2 PB4 3|   |6 PB1 MISO/DO/AIN1/OC0B/OC1A/PCINT1 (TinyHead RX)
                              GND 4|___|5 PB0 MOSI/DI/SDA/AIN0/OC0A/-OC1A/AREF/PCINT0 (LED)

 PB0 - LED - output for LED
 PB1 - RXD - Reserved for TinyHead RX

 */

void bip(void){                 // used to feed back key moments in program
  PORTB ^= (1<<LED);
  _delay_ms(50);
  PORTB ^= (1<<LED);
  _delay_ms(50);
}

void setup() {
  // put your setup code here, to run once:

  DDRB |= (1<<LED);         // define outputs
  PORTB |= (1<<RXD);        // set internal pull ups
  PORTB &= ~(1<<LED);       // shut down PWR

  driver.init();            // radio head driver
}

void loop() {
  // put your main code here, to run repeatedly:
    uint8_t buf[RH_ASK_MAX_MESSAGE_LEN];
    uint8_t buflen = sizeof(buf);

    if (driver.recv(buf, &buflen)) {  // Message with a good checksum received
      if (((char) buf[0]) == 0x4D){   // the transmitter has issued an "M" character
        bip();                        // debug flash to confirm receipt
      }
    }
}
My circuit
My platformio.ini
; PlatformIO Project Configuration File
;
;   Build options: build flags, source filter
;   Upload options: custom upload port, speed and extra flags
;   Library options: dependencies, extra library storages
;   Advanced options: extra scripting
;
; Please visit documentation for the other options and examples
; https://docs.platformio.org/page/projectconf.html

[env:attiny85]
platform = atmelavr
board = attiny85
framework = arduino

; device is USBASP V2.0 with updated firmware
;upload_protocol = custom
;upload_port = usb
;upload_flags =
;    -C
;    ; use "tool-avrdude-megaavr" for the atmelmegaavr platform
;    ${platformio.packages_dir}/tool-avrdude/avrdude.conf
;    -p
;    $BOARD_MCU
;    -P
;    $UPLOAD_PORT
;    -c
;    usbasp
;upload_command = avrdude $UPLOAD_FLAGS -U flash:w:$SOURCE:i

; device is program_via_ArduinoISP
upload_protocol = custom
upload_port = COM8
upload_speed = 19200
upload_flags =
    -C
    ; use "tool-avrdude-megaavr" for the atmelmegaavr platform
    ${platformio.packages_dir}/tool-avrdude/avrdude.conf
    -p
    $BOARD_MCU
    -P
    $UPLOAD_PORT
    -b
    $UPLOAD_SPEED
    -c
    stk500v1
upload_command = avrdude $UPLOAD_FLAGS -U flash:w:$SOURCE:i

; device is a Pololu USB AVR programmer
;upload_protocol = custom
;upload_port = COM5
;upload_speed = 19200
;upload_flags =
;    -C
;    ; use "tool-avrdude-megaavr" for the atmelmegaavr platform
;    ${platformio.packages_dir}/tool-avrdude/avrdude.conf
;   -p
;    $BOARD_MCU
;    -P
;    $UPLOAD_PORT
;    ;-b
;    ;$UPLOAD_SPEED
;    -c
;    stk500v2
;upload_command = avrdude $UPLOAD_FLAGS -U flash:w:$SOURCE:i
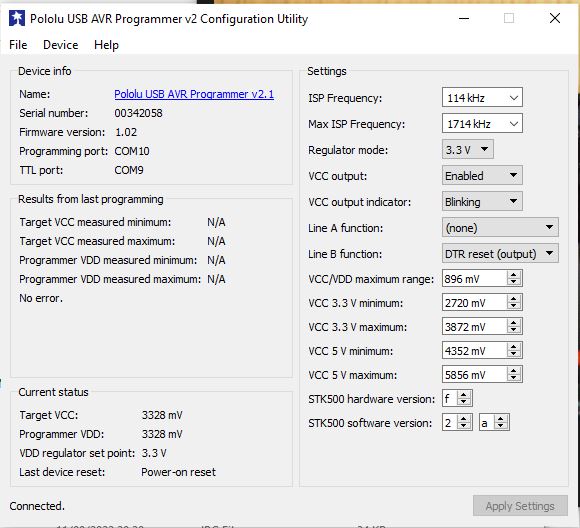
You can see I have variously used different programmers - but they all give similar results.
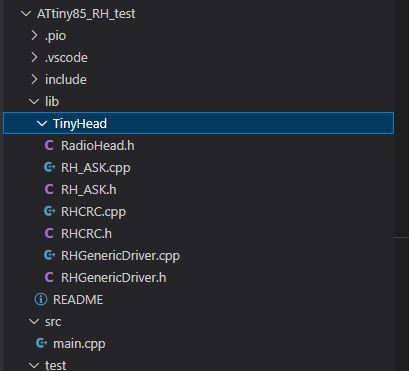
A picture showing my lib section to show RH libraries
And finally the Upload terminal output - note the warnings from the library
 *  Executing task in folder ATtiny85_RH_test: C:\Users\Peter\.platformio\penv\Scripts\platformio.exe run --target upload

Processing attiny85 (platform: atmelavr; board: attiny85; framework: arduino)
-----------------------------------------------------------------------------------------------Verbose mode can be enabled via `-v, --verbose` option
CONFIGURATION: https://docs.platformio.org/page/boards/atmelavr/attiny85.html
PLATFORM: Atmel AVR (3.4.0) > Generic ATtiny85
HARDWARE: ATTINY85 8MHz, 512B RAM, 8KB Flash
DEBUG: Current (simavr) On-board (simavr)
PACKAGES:
 - framework-arduino-avr-attiny @ 1.5.2
 - tool-avrdude @ 1.60300.200527 (6.3.0)
 - toolchain-atmelavr @ 1.70300.191015 (7.3.0)
LDF: Library Dependency Finder -> https://bit.ly/configure-pio-ldf
LDF Modes: Finder ~ chain, Compatibility ~ soft
Found 10 compatible libraries
Scanning dependencies...
Dependency Graph
|-- TinyHead
|   |-- SPI @ 2.0.0
Building in release mode
Compiling .pio\build\attiny85\src\main.cpp.o
In file included from lib\TinyHead/RHGenericDriver.h:9:0,
                 from lib\TinyHead/RH_ASK.h:9,
                 from src\main.cpp:28:
lib\TinyHead/RadioHead.h:1129:4: warning: #warning Arduino TinyCore does not support hardware SPI. Use software SPI instead. [-Wcpp]
   #warning Arduino TinyCore does not support hardware SPI. Use software SPI instead.
    ^~~~~~~
Linking .pio\build\attiny85\firmware.elf
Checking size .pio\build\attiny85\firmware.elf
Advanced Memory Usage is available via "PlatformIO Home > Project Inspect"
RAM:   [=======   ]  68.2% (used 349 bytes from 512 bytes)
Flash: [=====     ]  51.6% (used 4230 bytes from 8192 bytes)
Building .pio\build\attiny85\firmware.hex
Configuring upload protocol...
AVAILABLE: custom
CURRENT: upload_protocol = custom
Uploading .pio\build\attiny85\firmware.hex

avrdude: AVR device initialized and ready to accept instructions

Reading | ################################################## | 100% 0.02s

avrdude: Device signature = 0x1e930b (probably t85)
avrdude: NOTE: "flash" memory has been specified, an erase cycle will be performed
         To disable this feature, specify the -D option.
avrdude: erasing chip
avrdude: reading input file ".pio\build\attiny85\firmware.hex"
avrdude: writing flash (4230 bytes):

Writing | ################################################## | 100% 6.04s

avrdude: 4230 bytes of flash written
avrdude: verifying flash memory against .pio\build\attiny85\firmware.hex:
avrdude: load data flash data from input file .pio\build\attiny85\firmware.hex:
avrdude: input file .pio\build\attiny85\firmware.hex contains 4230 bytes
avrdude: reading on-chip flash data:

Reading | ################################################## | 100% 3.02s

avrdude: verifying ...
avrdude: 4230 bytes of flash verified

avrdude: safemode: Fuses OK (E:FE, H:DE, L:E2)

avrdude done.  Thank you.

================================ [SUCCESS] Took 14.28 seconds ================================
 *  Terminal will be reused by tasks, press any key to close it.
I think it may be something to do with how Arduino framework handles clock speeds but I am a newbie.
When the unit is not receiving any transmission, there is a ‘background’ square wave at PB1 - I thought this was just noise being coded. But the frequency of this seems to vary depending on whether I’ve just used Arduino IDE or PlatformIO to upload (with Arduino Uno as ISP still attached) or whether the ISP cable is removed and ATtiny85 is powered from another 5v supply.
With the Arduino IDE loaded version, it works whether the ISP cable is left attached to the Arduino as ISP or disconnected with external 5v supply
Do you have any ideas as to what is going on?